
Master the Art of Contour Makeup: Because Life’s Too Short for Bad Blending
Applying contour makeup can feel like trying to solve a Rubik’s Cube with your eyes closed. But fear not, my friend! With the right tips and a touch of humor, you’ll be chiseling cheekbones sharper than your ex’s attitude in no time. Let’s dive into the art of contouring without looking like you face-planted into a chocolate cake.
Step 1: Know Thy Face Shape
Before you start, figure out your face shape. Are you a round-faced cherub, a heart-shaped romantic, or rocking that long rectangle vibe? Each shape calls for a slightly different contouring map. Remember, your goal is to enhance, not morph into a different species. (Unless it’s Halloween. Then all bets are off.)
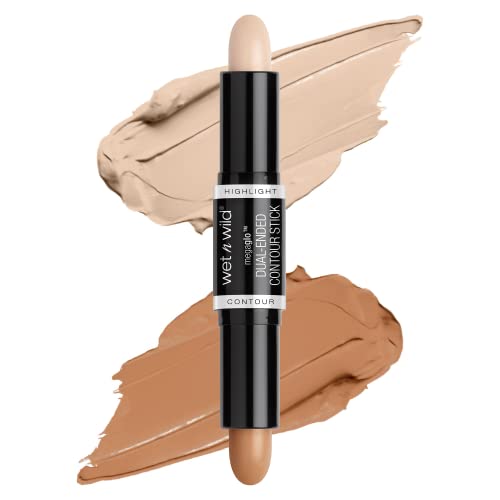
Step 2: Assemble Your Arsenal
Here’s what you need:
• A contour product (cream, stick, or powder—pick your poison).
• A highlighter to blind your enemies.
• A blending brush or sponge (because your fingers can only do so much).
• A mirror, preferably one that doesn’t distort your face like a funhouse.
Pro Tip: When in doubt, go for a cool-toned contour. Warm tones can make you look like you’re auditioning for a Jersey Shore reboot.
Step 3: The Art of the Placement
Contour is essentially strategic shadowing. Think of yourself as Michelangelo, and your face is the Sistine Chapel.
1. Cheekbones: Suck in your cheeks like you just heard gossip. Apply contour in the hollows. Blend upward—up, not down, unless you want to look like you have a five o’clock shadow.
2. Jawline: Draw a line along your jaw to define it. Blend so it’s sharp enough to cut glass but not so harsh you look like a bobblehead.
3. Forehead: If your forehead is giving solar panel vibes, shade along the hairline. If not, you can skip this step. Lucky you.
4. Nose: Draw two lines down the sides of your nose for a slimmer look. But tread carefully—you’re one unblended swipe away from looking like a zebra.
Step 4: Highlight Like You Mean It
Highlight is the yin to your contour’s yang. Apply it to the high points of your face:
• The tops of your cheekbones (so everyone knows you’re radiant and possibly better than them).
• The bridge of your nose (subtle, unless you want to blind someone).
• The center of your forehead and chin.
Blend like your life depends on it. No streaks allowed.
Step 5: Blend Like a Boss
Blending is the secret sauce of contouring. No one needs to see the hard lines of where your contour begins and ends. Use circular motions and a light hand. If you’re going for “natural glow” instead of “makeup tutorial gone wrong,” patience is key.
Step 6: Set It and Forget It
Once your contour masterpiece is complete, set everything with a translucent powder or setting spray. This ensures your hard work doesn’t melt off by lunchtime.
Bonus Tips (Because We Love You):
• Don’t overdo it. The goal is to enhance, not look like you’re prepping for a role in Cats.
• Use natural light to check your work. Bathroom lighting can be deceptive and sometimes mean.
• Practice makes perfect. Your first attempt might look like a toddler finger-painted your face, but stick with it.
Final Words: Own That Glow
Contouring doesn’t have to be intimidating. Think of it as adult finger painting, but with less mess (hopefully). With these tips, you’ll have a sculpted look that says, “I woke up like this” (even though we both know you didn’t).
Now go forth and contour, Picasso! And remember: When in doubt, blend it out.


